Base install of Windows 10
Base install
NB The author doesn’t have a tripod, nor the feeling of relevance for this part of the guide, so the quality of screen photos here is not as good as other guides out there—this version is only included in case you need the information right here, rather than to draw people to the site for an often-covered topic.
Boot from installation media
- Windows 10 installation via bootable media
- Windows 10 boot from installation media for certain ASUS motherboards
Core install
- Once Windows Setup completes booting, select your ‘Time and currency format’ (this sets your default country and your language variant) then click ‘Next’.
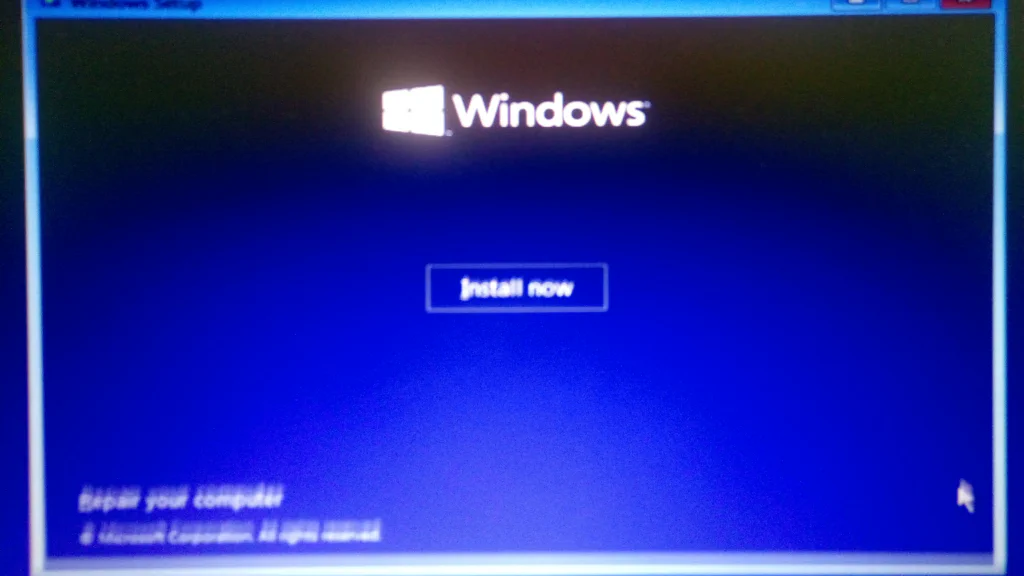
- Click on the ‘Install now’ button on the next page.
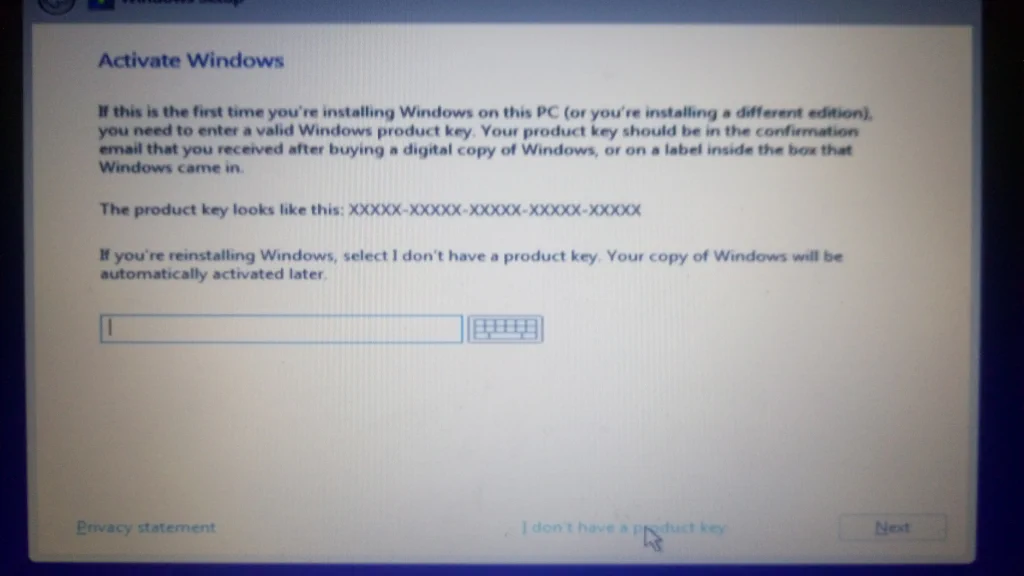
- If this is the first time installing Windows 10 Pro on this computer, enter
your product key on the next screen, otherwise select “I don’t have a product
key” (Windows Activation should recognize that this computer already has a
license when it does its thing), then click ‘Next’.
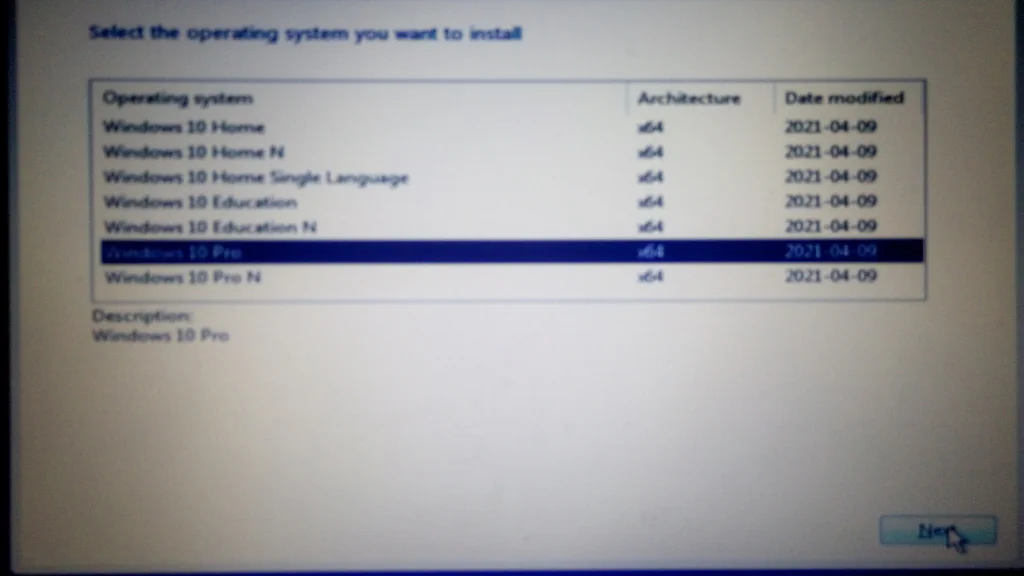
- Select the Edition of Windows 10 for which you have a product key and you
wish to install (this guide assumes Windows 10 Pro), and click ‘Next’.
- Accept the license agreement after reading it (it’s not like you have a
choice if you want to use Windows)
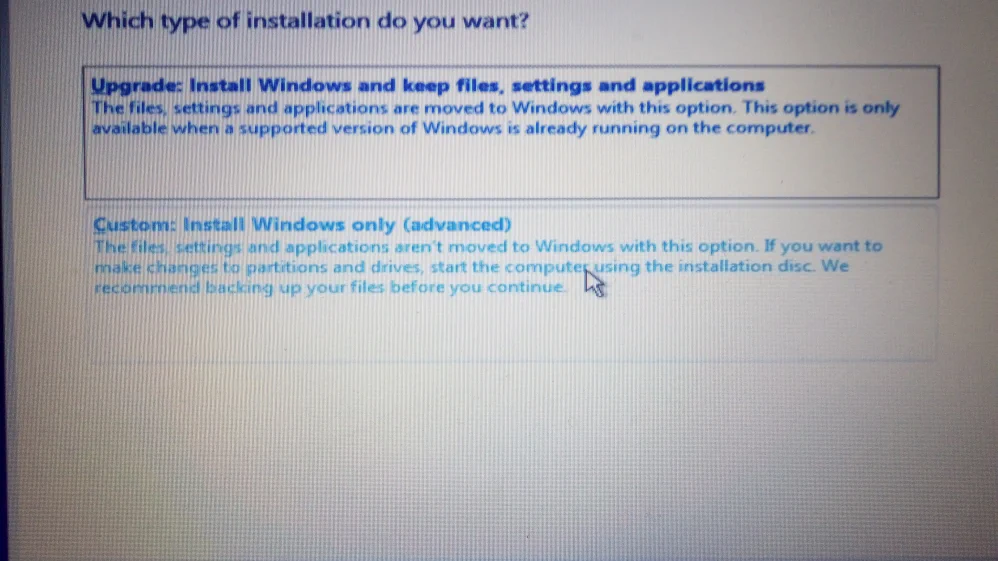
- Choose “Custom: Install Windows only (advanced)” since we want a fresh
install.
- On the install location screen, if you see an OEM partition, DO NOT delete it.
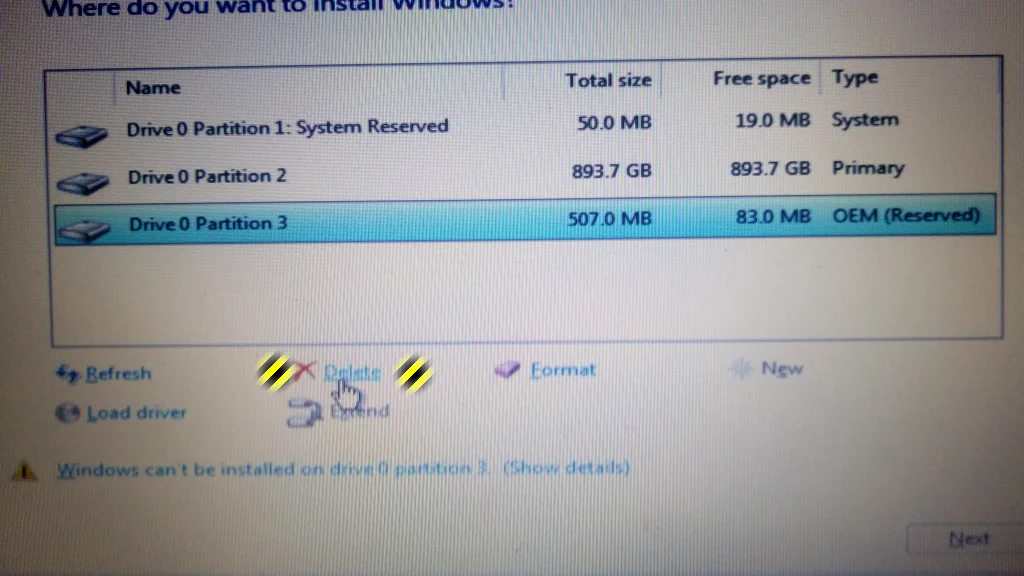
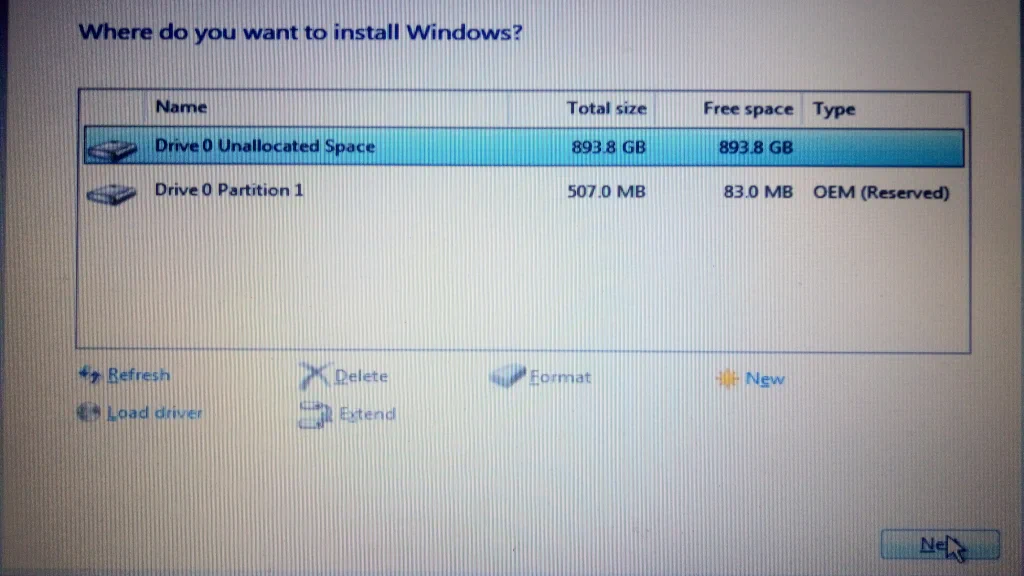
- Delete any other partitions, select the resulting free space, and click
‘Next’.
- The installer will go through a number of steps.
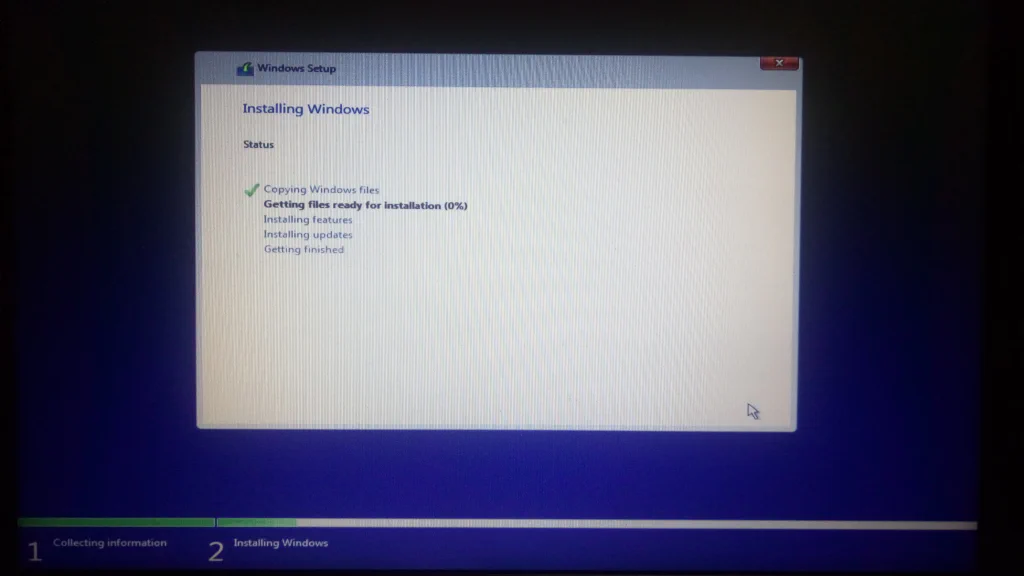
- The installer will then reboot.
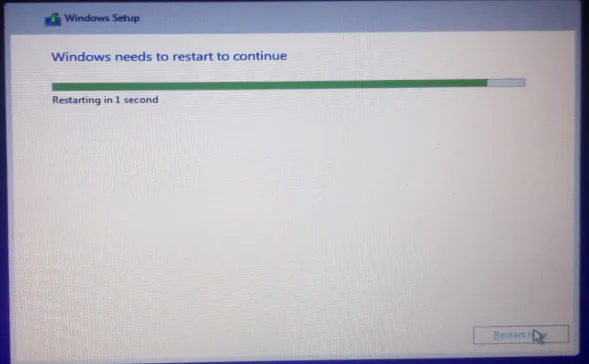
Initial setup wizard
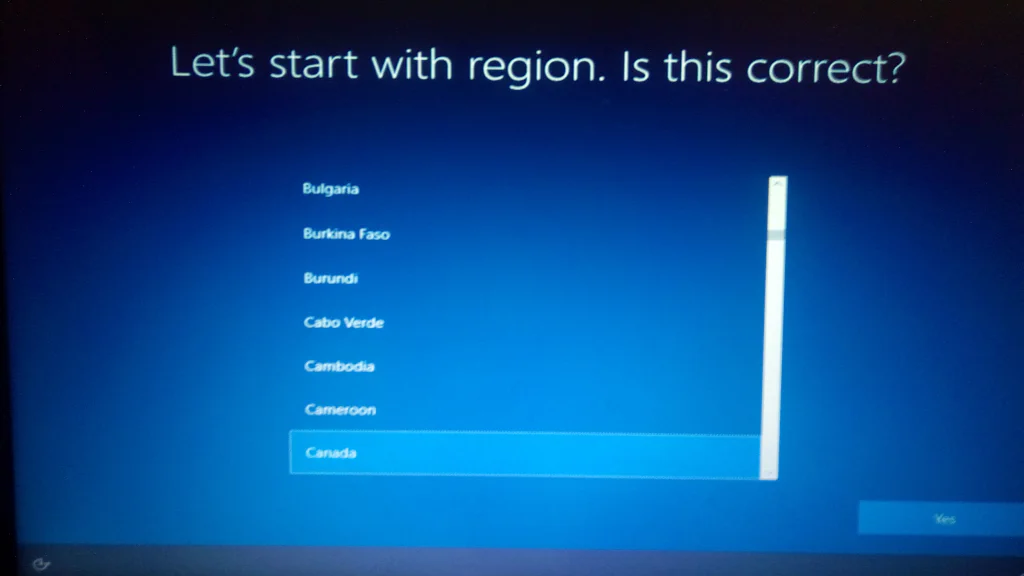
Your computer will reboot (possibly more than once) and eventually start the Windows setup wizard, starting with asking you what country you are in; the wizard steps are as follows:
- Choose your region (this may be a country or a Province/State).
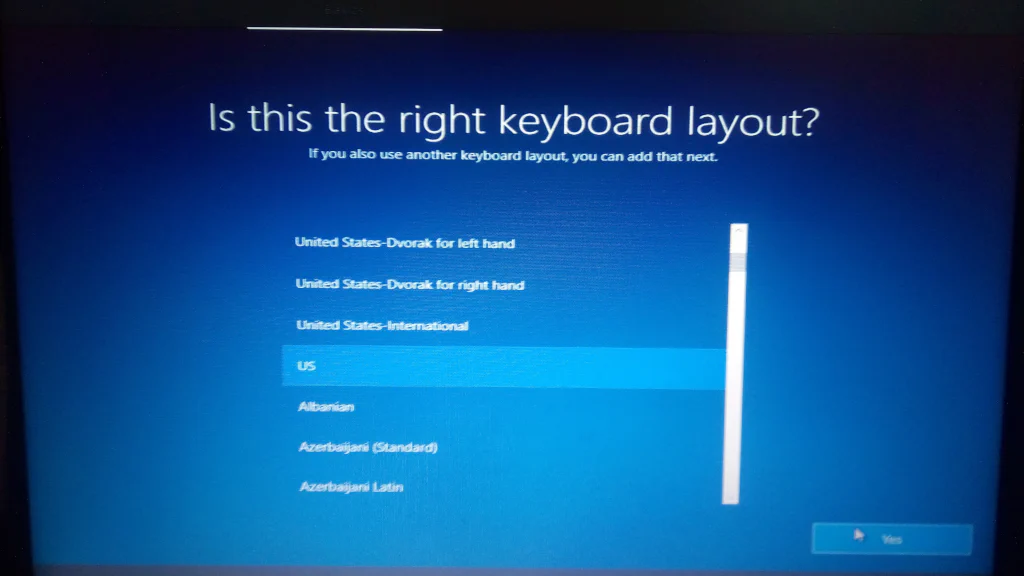
- Choose your keyboard layout.
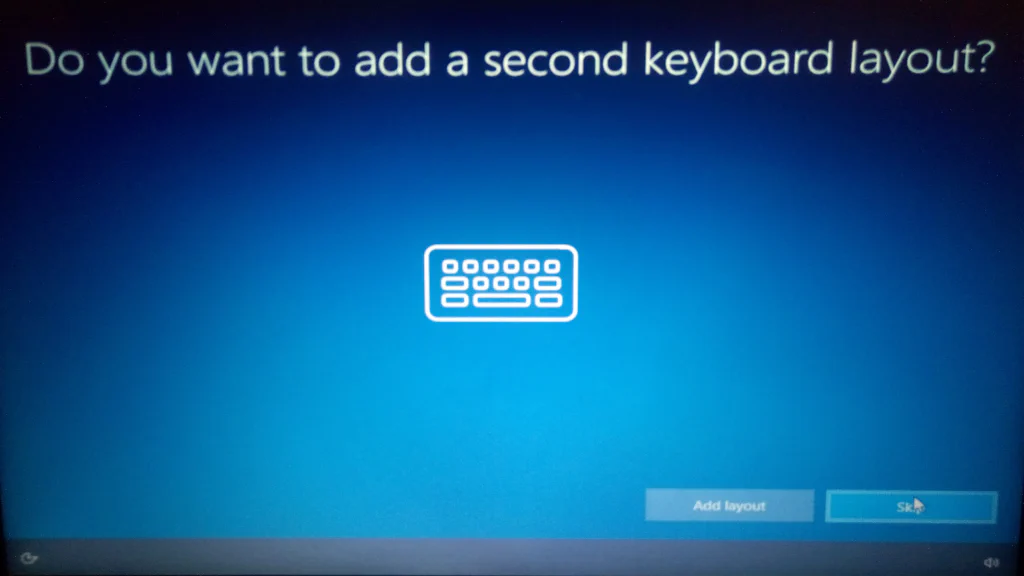
- Choose whether to add another layout (this guide chooses ‘Skip’, as the
author doesn’t need another layout).
- Windows will emit various messages to let you know it is doing ‘stuff’ and
to wait for it complete. For example:
Primary user (Administrator) account
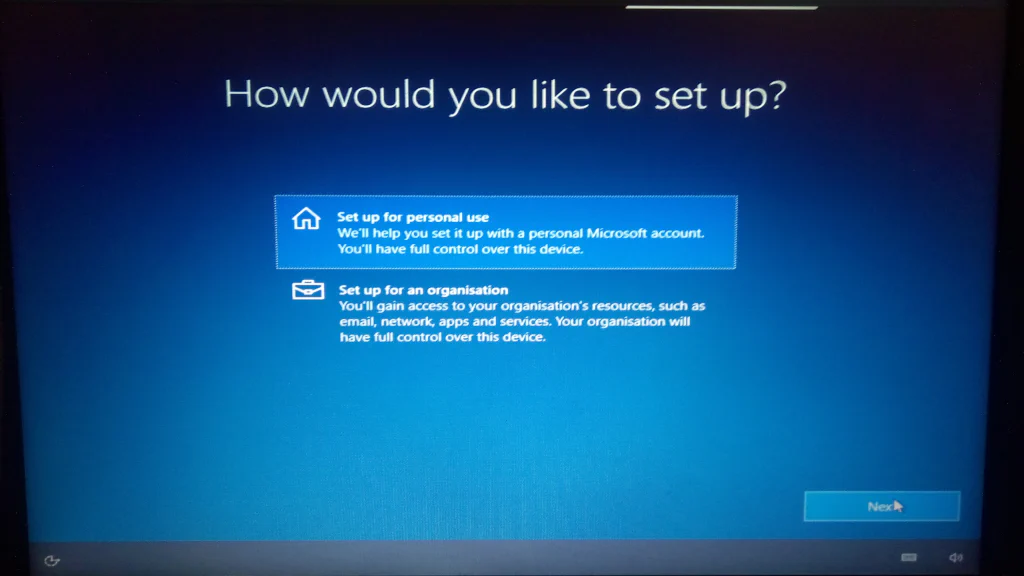
The next steps are the setup of the primary user. The primary user is part of the Administrators group, and for a personal use computer has full control of the computer. Since this guide is only intended to cover personal use, we won’t worry about the ‘school or work’ scenario.
Choose to set up for Personal Use (since that is what this guide is about).
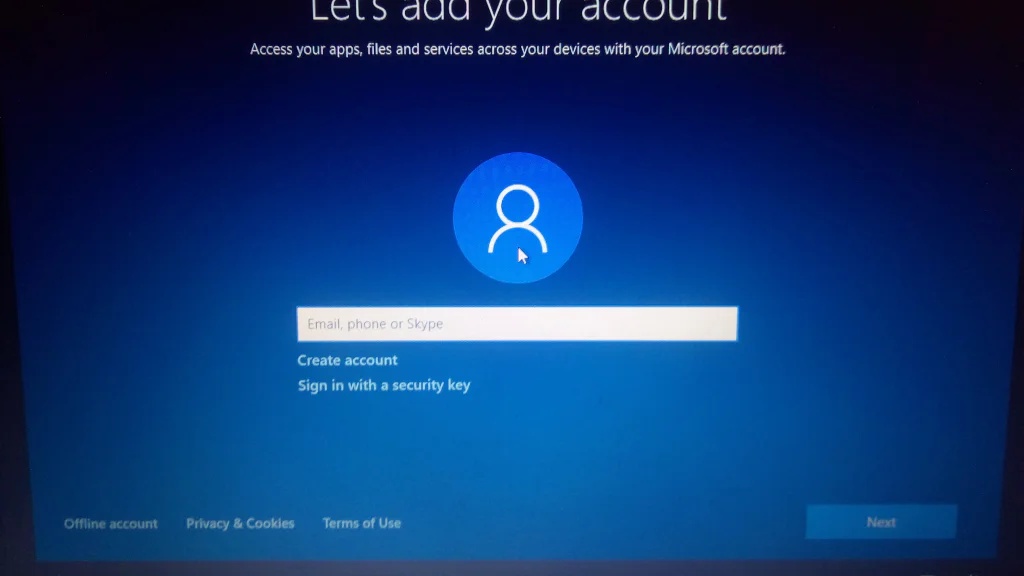
Enter your Microsoft Account email address (if you don’t have a Microsoft Account you will need to create one). While you have the option of creating a local/offline (non-Microsoft) account, this guide is written with the assumption you are using an existing Microsoft Account.
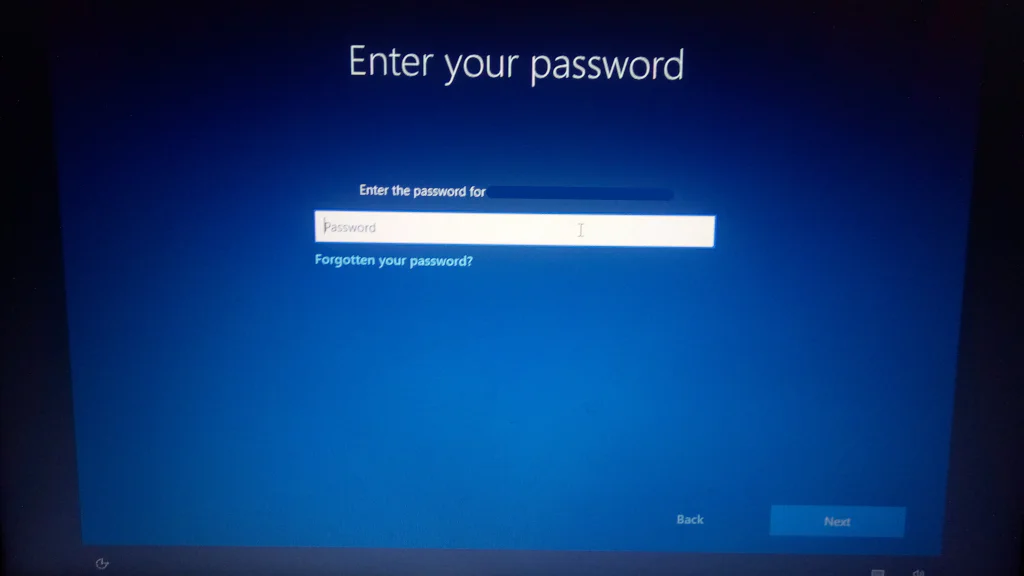
When prompted enter your password.
If prompted, enter your second factor authentication code (assuming you have two factor authentication (2FA) set up, which you really should)
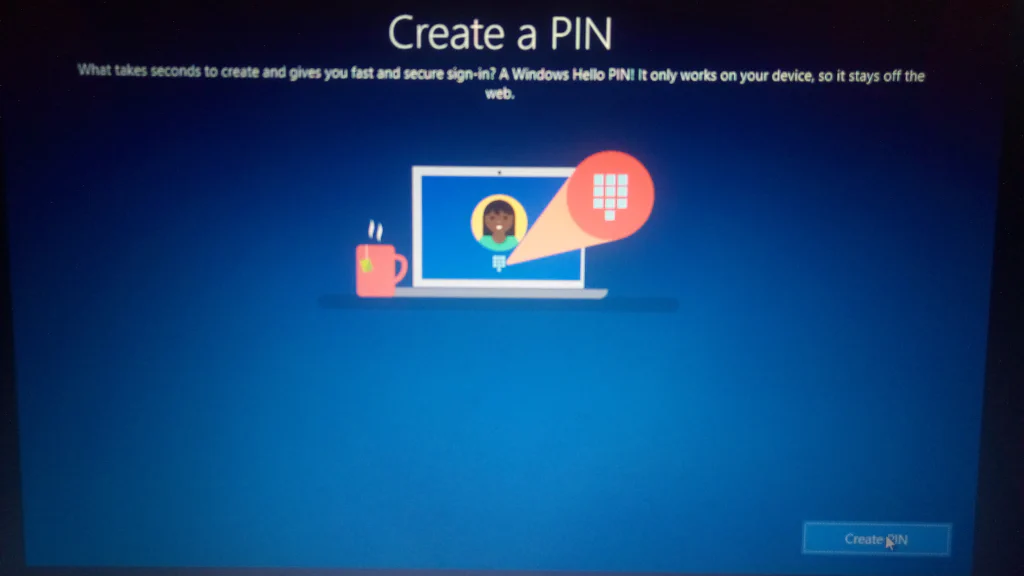
You will be prompted to create a PIN (or to skip). I recommend creating a PIN, as it allows use of ‘Windows Hello’.
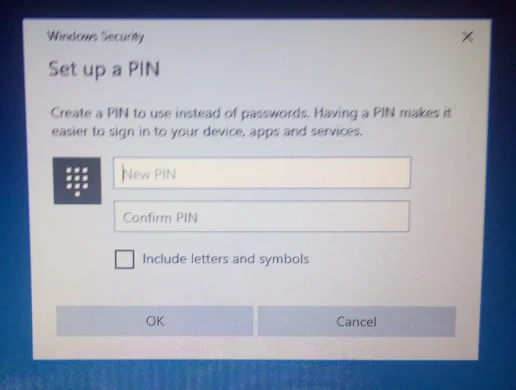
Enter and confirm your new PIN.
You will next be asked to make choices about a series of privacy-related options (e.g. choosing to send Microsoft full diagnostics and usage patterns, or only basic diagnostics). This guide won’t walk through those steps as it’s a rather individual matter what one is comfortable with or believes matters when it comes to privacy options.
Next are some more personal choices, this time for
- If applicable and/or you wish, choosing to have Windows customized according to the use you expect to make if it (The author skips this because he doesn’t fit in their nice check boxes).
- Choosing whether to link your phone to your PC (The author prefers to do that outside the wizard, so this is another options he skips).
- Choosing whether to back you files up to One Drive. This likely only makes sense if you have a Microsoft 365 subscription or One Drive Premium as the free OneDrive doesn’t have much storage, so this guide doesn’t show making a choice here.
You will then get various ‘please wait’ variety messages as Windows is configured and set up.
First steps, post install
There’s a page for that; Windows 10 Pro, first steps post-install